

 简体中文
简体中文 English
 Español
Don't hesitate to send a message
Search
Recent Post
Newsletter
How Do You Installation Automatic Pump Control System
Installation Automatic Pump Control systems are usually added to water setups where the pump needs to start and stop on its own. Once installed, the system reacts to water demand instead of manual switching. That sounds simple, but installation still depends on careful positioning, steady connections, and a clear understanding of how water moves through the line.
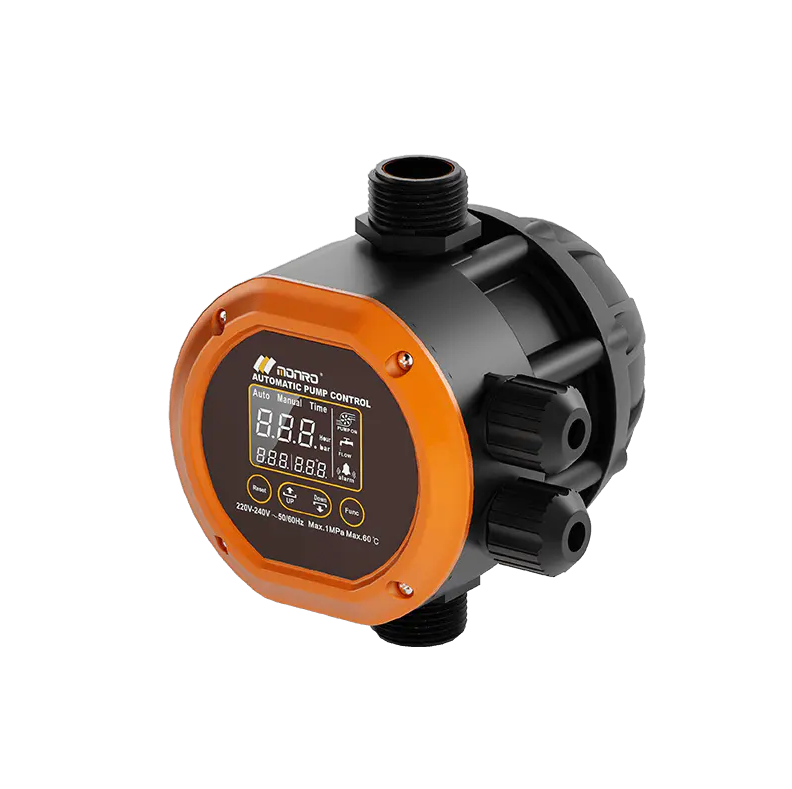
In many cases, problems later on are not caused by the device itself. They come from placement or small mistakes during setup. That is why installation steps matter just as much as the equipment.
What Should Be Checked Before Installation Starts?
Before touching any pipes or wiring, it helps to look at the whole setup first. The pump, the water line, and the control unit all work together. If one part is not suitable, the system may behave unevenly later.
A few basic checks are usually enough:
- Whether the pump is already in stable working condition
- If there is enough space near the outlet pipe
- Whether the area stays dry during operation
- How easy it will be to access the unit later
- If power supply is steady and safe
The control unit should not be placed where water can splash directly onto it. Even though it manages water flow, it still needs a dry environment to stay stable.
Where Does The Control Unit Usually Go?
Placement is more important than it appears. The unit needs to "feel" changes in water flow, so location affects how quickly it responds.
Most setups place it along the outlet side of the pump. That position allows it to react when water is used and stop when usage ends.
A good location usually means:
- Close enough to sense flow changes quickly
- Not exposed to constant vibration
- Easy to reach for inspection
- Protected from direct moisture
If it is placed too far away, response may feel slow. If it is placed in a tight or unstable spot, maintenance becomes difficult later.
How Is The Water Line Connected?
The connection part is usually straightforward, but it needs attention. The control unit becomes part of the water path, so alignment matters.
Water typically moves in a simple direction:
Pump → Control unit → Output line
During setup, each connection point should sit firmly without tension. If pipes are forced into position, small leaks or movement issues can appear later.
Even pressure across the line helps the system behave more consistently once it starts running.
What About Electrical Connection?
The electrical side is usually simple but should not be rushed. The control system depends on power to detect changes and switch the pump on or off.
Basic steps include:
- Connecting the main power input
- Linking the control output to the pump
- Keeping wiring away from wet areas
- Making sure all connections are tight and covered
It is better to keep cables organized rather than loose around the system. Once everything is in place, a quick check before turning on power helps avoid early issues.
How Does The System Know When To Start Or Stop?
The working idea behind automatic pump control is not complicated. It responds to water movement inside the pipe.
When a tap or outlet is opened, water starts flowing. The system senses that movement and tells the pump to start. When the flow slows or stops, it signals the pump to shut down.
This behavior depends on:
- Flow movement inside the pipe
- Pressure changes during use
- Position of the control unit
If the unit is installed in the right place, the response feels smooth and natural. If not, the system may start late or stop too slowly.
What Problems Can Appear After Installation?
Even if the installation looks fine at glance, minor hitches may pop up when you run the system. Most of these stem from improper setup rather than actual damage to the hardware.
Typical issues you might run into:
- Pump fails to kick in once water flow is turned on
- Pump keeps running far longer than it should
- Pump switches on and off erratically
- Low water pressure at certain outlets
- Minor water seepage around pipe joints
Nearly all these problems come down to misaligned fittings or poor positioning. Double‑checking connections usually fixes them with no need for new parts.
How Is The System Tested After Setup?
System testing takes place immediately after installation. No complicated procedures are needed — just a straightforward functional check.
Here is how the standard test works:
- Switch on the power supply
- Open a water tap
- Note how fast the pump activates
- Close the tap and check when the pump shuts down
- Repeat several times to confirm stable performance
Timing is key here. The pump should start without noticeable delay and stop right after water flow cuts off.
Any abnormal behavior can usually be fixed with small tweaks to fitting positions or connections.
What Should Be Checked After It Starts Working?
Once the system is up and running, you move past installation checks and start monitoring real‑world performance. Small hidden issues often surface in the few days of regular use.
Key points to keep an eye on:
- Whether the pump turns on and off reliably every time
- Any new leaks showing up at pipe joints
- Dry, secure wiring with no loose connections
- Steady water pressure during normal use
These checks require no special tools. Basic visual inspection and real‑use observation are more than enough.
A Simple View Of The Installation Flow
| Step | Focus Area | What Matters Most |
|---|---|---|
| Preparation | System condition | Stable pump and dry space |
| Placement | Control position | Clear access and good response |
| Connection | Water line setup | Firm and aligned joints |
| Wiring | Electrical setup | Safe and organized cables |
| Testing | System behavior | Smooth start and stop |
| Early use | Real operation check | Stable daily performance |
Each step builds on the previous one. Skipping parts may not show immediate problems, but they often appear later during regular use.
What Really Determines Long-Term Performance?
After installation, the system mostly runs on its own. Still, small environmental changes can affect how it behaves over time.
Performance usually depends on:
- Clean water flow inside the pipe
- Stable power supply
- Dry protection around the control unit
- Proper installation alignment from the start
- Occasional inspection to catch small changes
A well-installed system does not need constant attention. It tends to settle into steady operation once everything is aligned correctly.
OUR PRODUCTS
Recommended Products
-
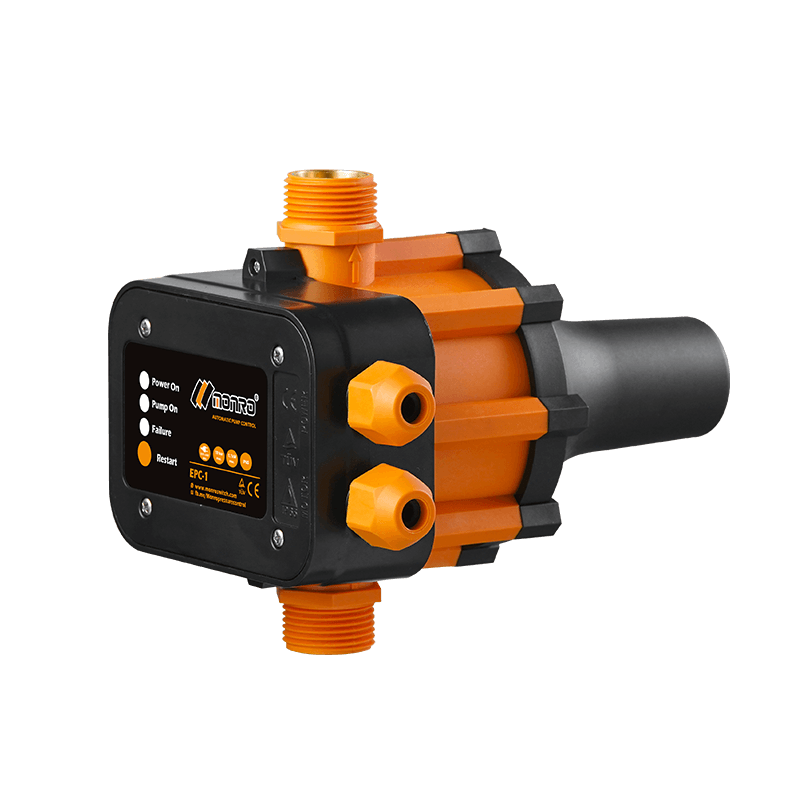 EPC-1
EPC-1Monro EPC-1 model pump controller is the classic and basic type, was loved by user in the global mar...
-
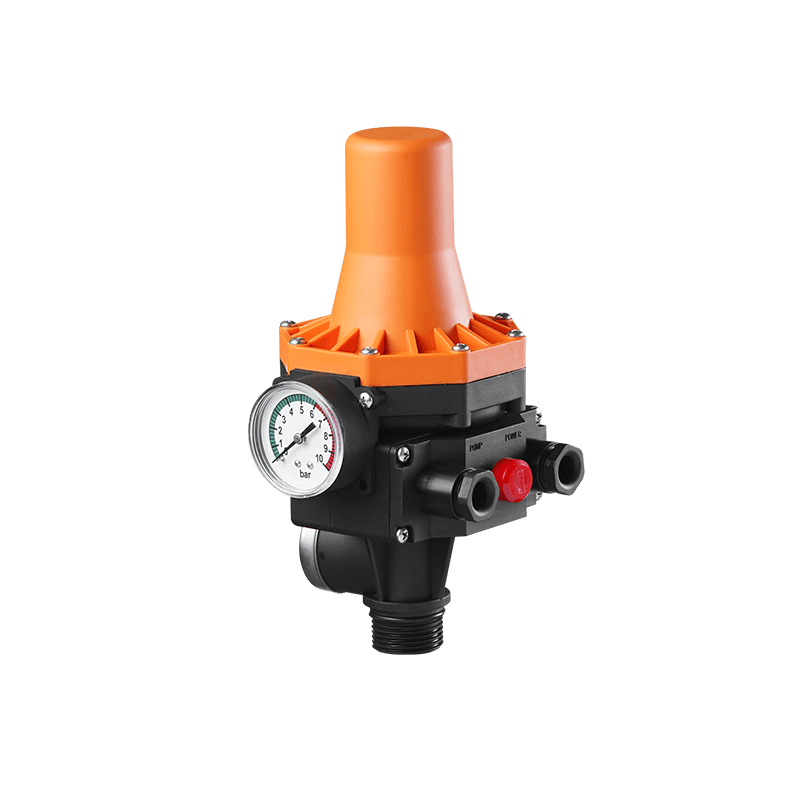 EPC-3
EPC-3Monro EPC-3 spain design auto on and off press control, an intelligent and economical system designe...
-
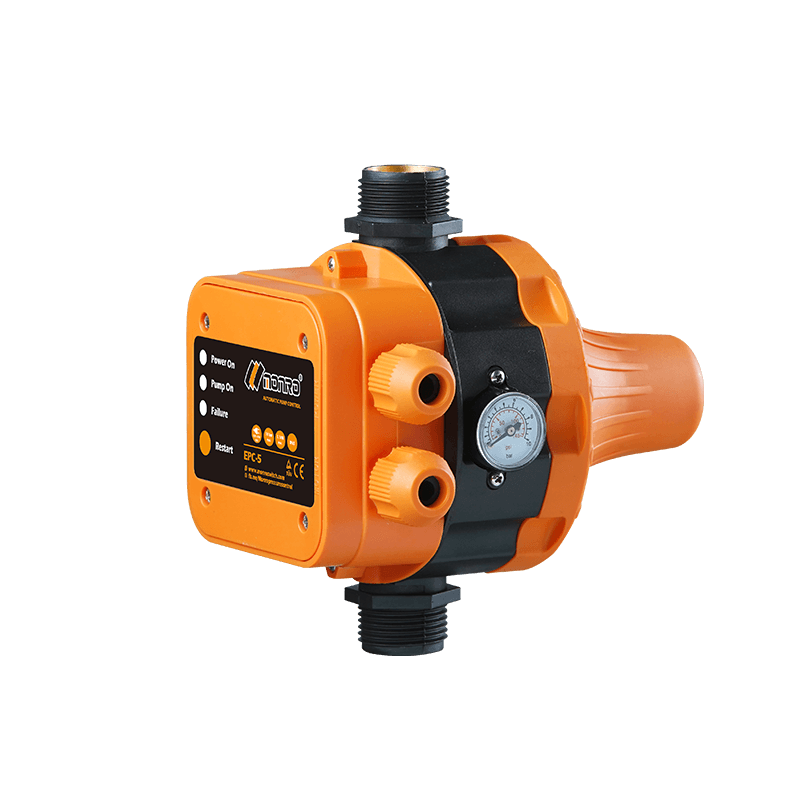 EPC-5
EPC-5Monro EPC-5 model automatic pump control, a device which assembled on the water pump (recommended si...
-
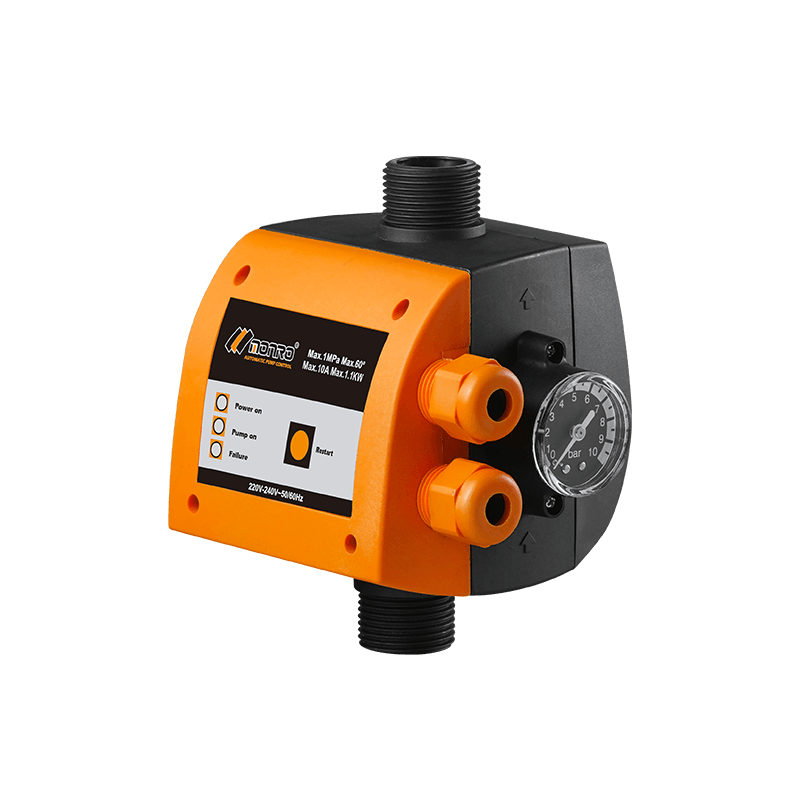 EPC-9
EPC-9Monro EPC-9 model pressure controller, is a big power device for automatic control and protection of...
-
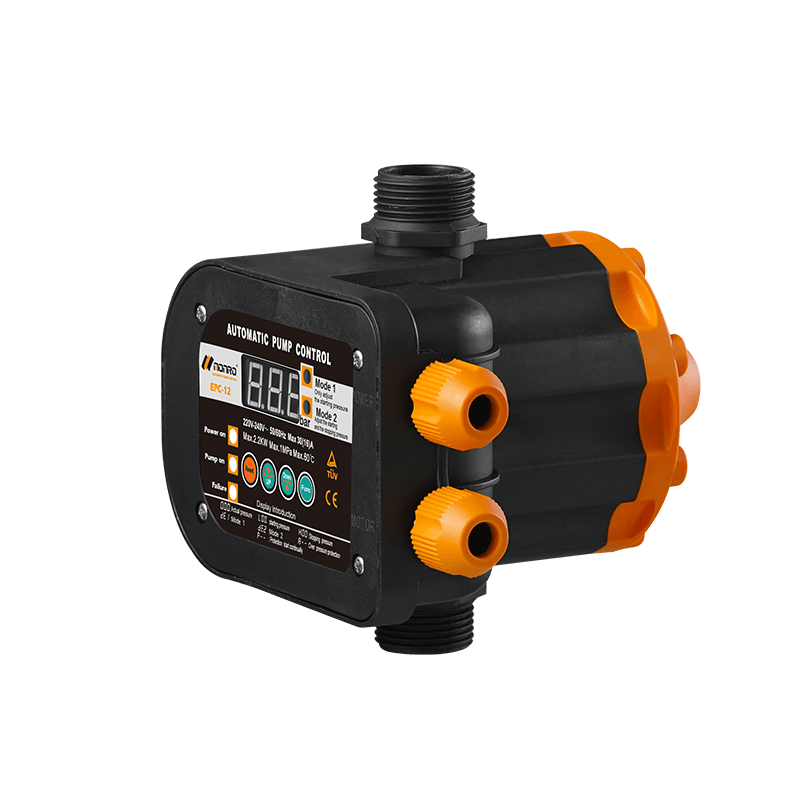 EPC-12
Monro EPC-12 smart top-level automatic pump control is a multi-function model combined with traditio...
-
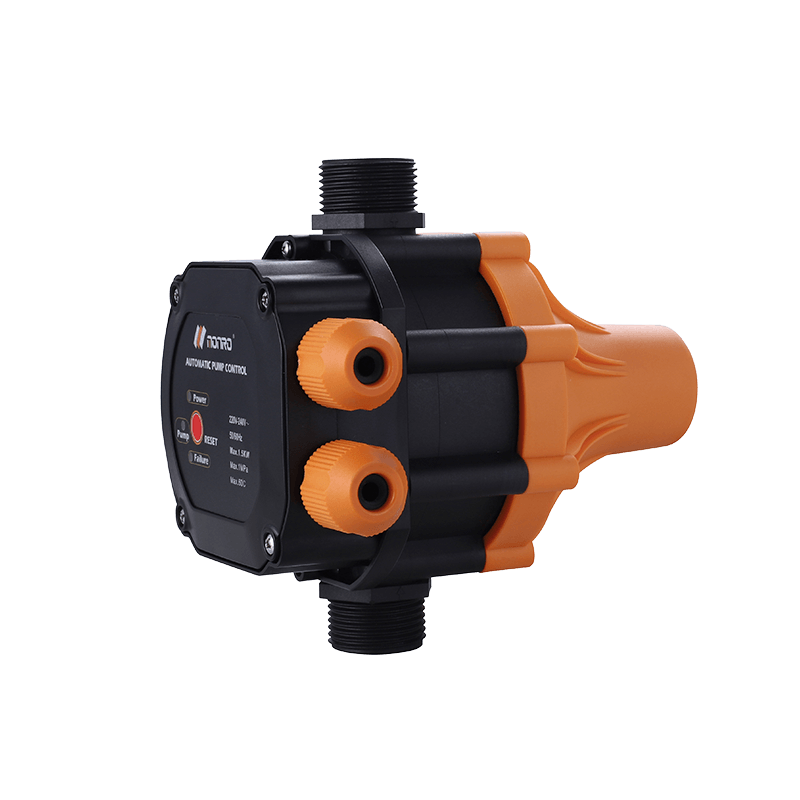 EPC-14
Monro EPC-14 model pressure control is a big power device for automatic control and protection of el...
-
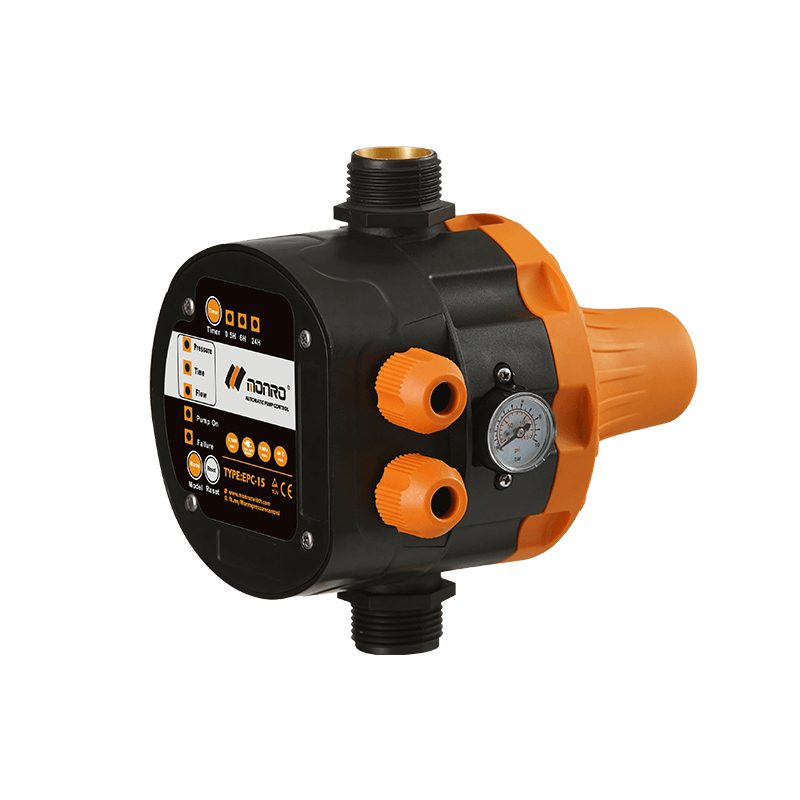 EPC-15
Monro EPC-15 model automatic pump control, a device which assembled on the water pump (recommended s...
-
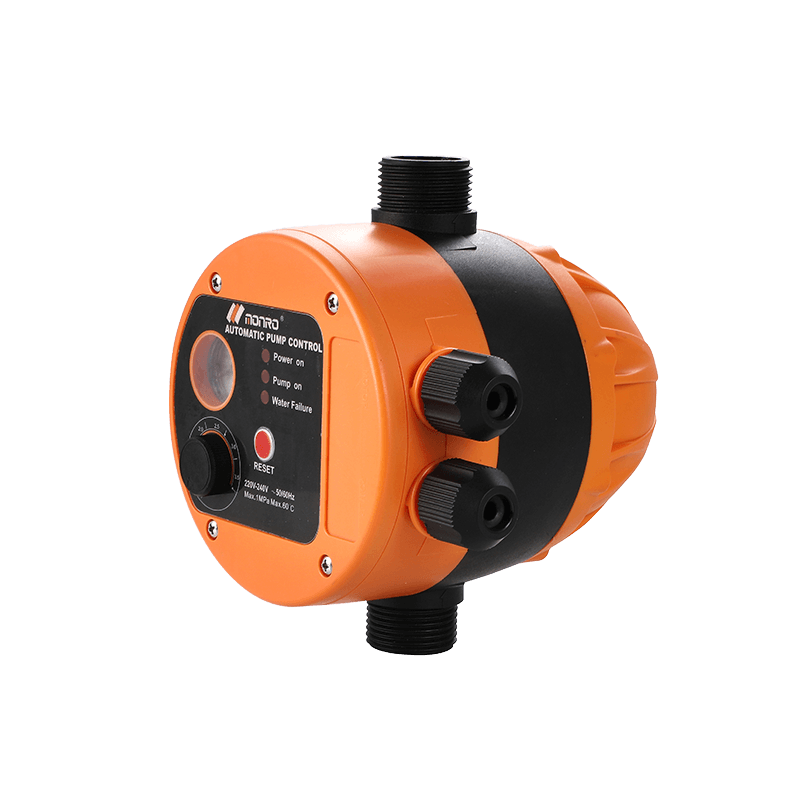 EPC-16
EPC-16 is the new patent pump controller by Monro. Its key highlight is tooless (manual knob) start...
contact us
find our office
find our office
Committed to providing professional pressure control solutions for various types of water pumps and air compressors.
Mobile
 Wechat
Copyright © 2024 Zhejiang Monro M&E Co., Ltd. All Rights Reserved.
Wholesale Pressure Control Switch Manufacturer
